
Objectives:
- Use Visual Basic to Make Shapes
- Add Forms to Your Main Form
Using Graphics to Spice Up Your Forms
The first part of this tutorial shows you how to add shapes to your Visual Basic Projects.
- Add a new form to your master project (from last assignment).
- Name your form frmShapes.
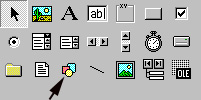
- Click the shapes icon on the Visual Basic Toolbox.
- Click and drag a shape on your form.
- Notice that the shape starts as a rectangle.
- Observe the "shape" properties for your rectangle:
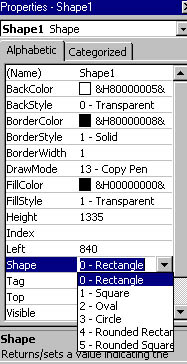
- Click on the arrow and select rounded rectangle.
- Notice how the shape automatically changes.
- Try the other shape properties.
- Change the BackStyle property to Opaque.
- Change the BackColor property to a new color.
- Change the FillStyle property to Vertical Line.
- Change the BorderWidth property to 4.
- Change the shape's BackStyle property to transparent.
- Add a total of ten shapes to your form, frmShapes.Each should have its own BackColor, FillStyle, and BorderWidth.
- Link the form to your master project. Call the link shapes.
<< Back to Skyline