
Objectives:
- Simulate wood in PhotoShop
Adapted from the book: Photoshop Most Wanted by Al Ward and Colin Smith
|
Simulating Wood in Photoshop
- Start by opening Photoshop and making a new image with a size of 500 by 500 pixels. Make the background black.
- Set your foreground and background colors to a couple of wood tones.
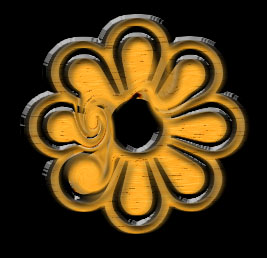
- Create a new layer and make a selection by using the text tool. In my example I used the font named ITC Zapf dingbats and typed the letter "a."
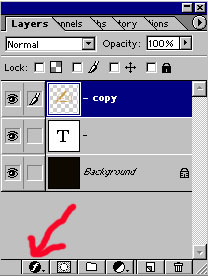
- Look in your layer window. Right-click the layer and duplicate it.
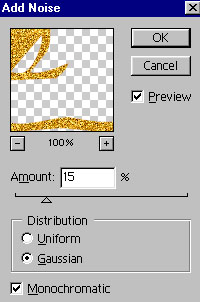
- Add noise by clicking on Filter > Noise > Add Noise. Select the options for monochromatic and Gaussian. Set it to around 15.
- Add a motion blur. Filter > Blur > Motion. Set the angle to 0 and the distance to 30.
- Let's create some knots in the wood. Make a small circular selection somewhere on your wood. Select Filter > Distort > Twirl. Try this several times in various places with different settings.
- Click on the layer style button in the layers window.
-
Select Bevel and Emboss. Change the style settings to Outer Bevel and the technique to Chisel Soft.
- Select another style: Inner Shadow. Also try Inner Glow.
- Take a look at your image. You can double-click on the styles in the layer window if you want to adjust the controls.

Assignment
- Make a wood version of your name and save the file in your folder. Make a total of five different versions.
<< Back to Skyline
|