Objectives:
- Simulate stone in PhotoShop
Adapted from the book: Photoshop Most Wanted by Al Ward and Colin Smith
|
Simulating Stone in Photoshop

- Start by opening Photoshop and making a new image with a size of 500 by 500 pixels.
- Open the Channels window and create a new Alpha channel by clicking on the button that looks like this:

- You will see your Alpha channel in the channel window looking like this:

- Hold your Control key down and click first A. This selects your image. Now let go of the control key and press D. This changes your colors to the default setting of black and white.
- Make sure your Alpha channel is selected.
- Select Filter > Render > Clouds.
- Deselect your image by holding down the control key and click D.
- Click on the top channel-RGB.
- Select Filter > Render > Lighting Effects.
- Note: very important---when in the lighting effects window, be sure to select your alpha channel where it asks for the texture channel. Your alpha channel is underneath the blue channel in the drop down menu (it can be hard to find).
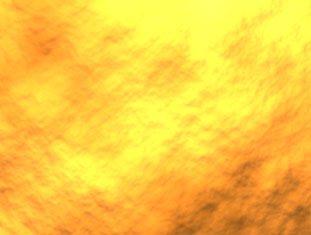
This is what mine looks like:

Assignment
- Make a couple different stones. Save the files in your folder.
<< Back to Skyline
|


