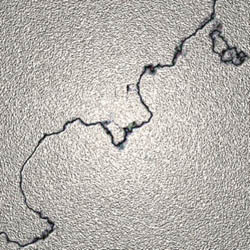
Objectives:
- Simulate Cracks in Photoshop
Adapted from the book: Photoshop Most Wanted by Al Ward and Colin Smith
|
Simulating Cracks in Photoshop

- Start by opening Photoshop and making a new file with a size of 500 by 500 pixels.
- Hold your Control key down and click first A. This selects your image. Now let go of the control key and press D. This changes your colors to the default setting of black and white.
- Open up the channels window. Add a new alpha channel.
- While in the alpha layer apply a filter such as add noise.You can experiment with different effects.
- Click on the top RGB channel and apply a lighting effect to the alpha layer.This should give you an interesting background to work on.
- Create a new layer. Name it cracks layer.
- Use the gradient tool to make a black and white linear gradient.
- Select Filter > Render > Difference Clouds.
- Hold down control and click L to open up the adjust levels window.
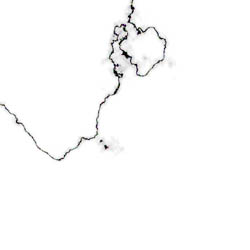
- Drag the right and middle triangles just about all the way to the left. Your image will look something like this:

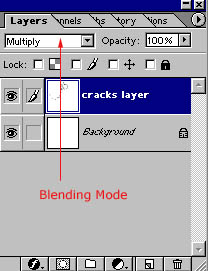
- Change the blending mode to multiply inside the layers window. This allows you to see the background layer underneath.

- Use a white brush to erase any smudges or parts of the crack you don't want.
- Duplicate the crack layer by right-clicking on it in the layer window.
- Invert the layer by holding down the control key and clicking i.
- Change the blending mode to screen.
- Drag this layer directly underneath the original cracks layer.
- Click on the topmost layer and click the nudge tool (the one that looks like a cross) and then move it a couple pixels by clicking on the arrow keys. This will give your cracks some depth.
Assignment
- Find a cool image of a building or a rock. Add realistic cracks to it.
<< Back to Skyline
|

