Movieclip Symbols
Up till now you have only been using graphic symbols. You are now going to learn all about movieclip symbols. What's the difference you say? Well, think of a movieclip symbol as a flash movie within the flash movie. You create a complete animation inside the movieclip symbol, and then you can drag that onto your stage and animate it by itself!
1. First, on your stage click INSERT > NEW SYMBOL > and choose MOVIECLIP.
2. Draw or place your image on the stage before you.
3. Convert what you just made into a graphic symbol. Select it > MODIFY > CONVERT TO SYMBOL.
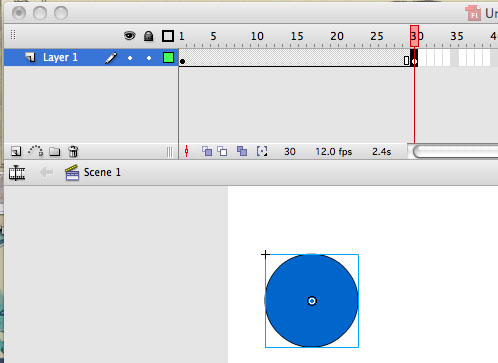
4. Click in a frame down the timeline for as many frames away as you like, say frame 20.
5. Insert a KEYFRAME by clicking on INSERT > TIMELINE >KEYFRAME.

6. Move or change your symbol's location (if you want to move it). You could also insert blank keyframes and do frame by frame animation here.
Realize that everything you've done here is just like what you've done before, but now it is all contained inside one movieclip symbol instead of working on the main stage.
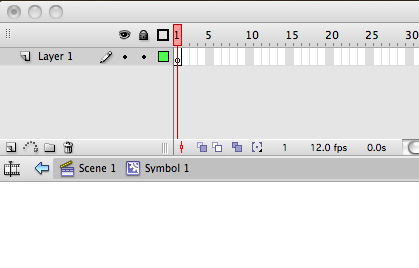
7. Click where it says SCENE ONE to exit the movieclip. Look at the graphic below:

By clicking on SCENE ONE you have exited the movieclip and have returned to the main stage of your project.
8. Look inside your library and you will see your movieclip symbol there.
9. Drag the movieclip onto your stage…now animate it like you would a graphic symbol.
Assignment
Create five movieclip symbols and animate each (in a separate layer) on your main stage.