Shooting Dialog According to the 180 Degree Rule
This is a "mini-project" to teach you how to shoot dialog properly. It doesn't really matter what your two actors say. Once you get this down, you will be able to shoot a real script with a real narrative (story). You imagine a line between your actors. Keep to one side of the line while shooting. Do not cross the line or you will create a jumpy shot.
To do this activity, you will need about thirty seconds of back and forth dialogue. Use this sample (or write your own): sample dialog.
Your actors will need to MEMORIZE the lines before you begin.
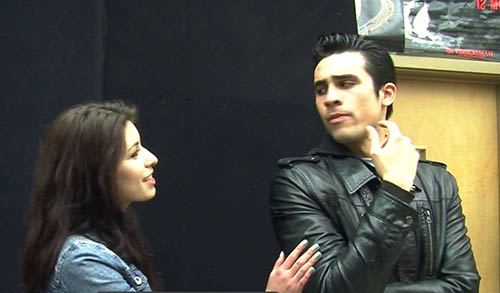
1. Start with a two shot of the actors going through their lines.
2. Do an over-the-shoulder shot for the first actor.
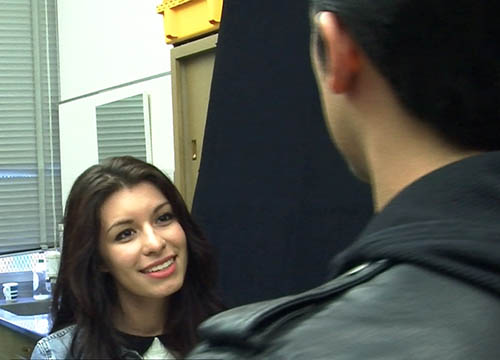
3. Do an over-the-shoulder shot on the second actor.

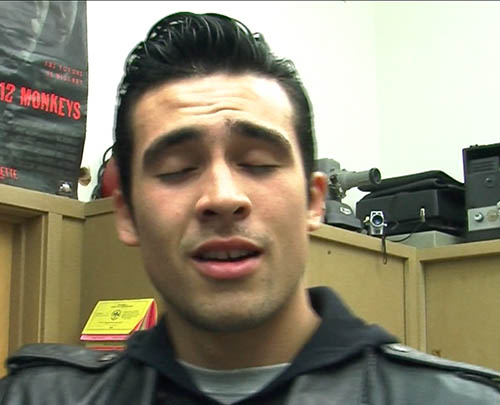
4. Do a close-up on first actor
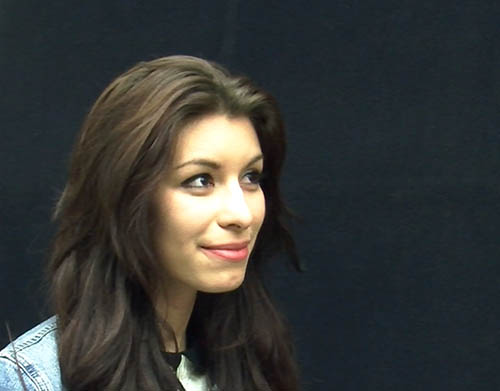
5. Close-up on second actor.
Project Procedure
1. Do all five shots.
2. Start a new project in a new folder in Final Cut.
3. Copy your files from your SD card into the folder.
4. Watch your clips.
5. If your actors were really consistent with each of the five shots, the audio should pretty much be the same for each. You really only need the audio from one of the shots. However, you will probably need to use audio from more than one shot. Use the best audio you have. You could always dub in a new audio track afterwards if necessary.
6. Edit your piece. Your completed project MUST have at least a little video from each of the five shots.
3. Do an over-the-shoulder shot on the second actor.
4. Do a close-up on first actor
5. Close-up on second actor.
Project Procedure
1. Do all five shots.
2. Start a new project in a new folder in Final Cut.
3. Copy your files from your SD card into the folder.
4. Watch your clips.
5. If your actors were really consistent with each of the five shots, the audio should pretty much be the same for each. You really only need the audio from one of the shots. However, you will probably need to use audio from more than one shot. Use the best audio you have. You could always dub in a new audio track afterwards if necessary.
6. Edit your piece. Your completed project MUST have at least a little video from each of the five shots.
Dialog Example from mark frey on Vimeo.